Five weeks are in the books, and that means there is one final week in the One Room Challenge to wrap everything up in this basement bathroom. All the plans are in place to finish, but there have been some setbacks this week, which make it more difficult to see it all coming together in so little time.
Last week, we painted the walls a charcoal gray, which helped add a little life to the space (especially compared to the white we initially painted them!). This week was supposed to be all about installing everything, but there have been some hold ups.
The Vanity
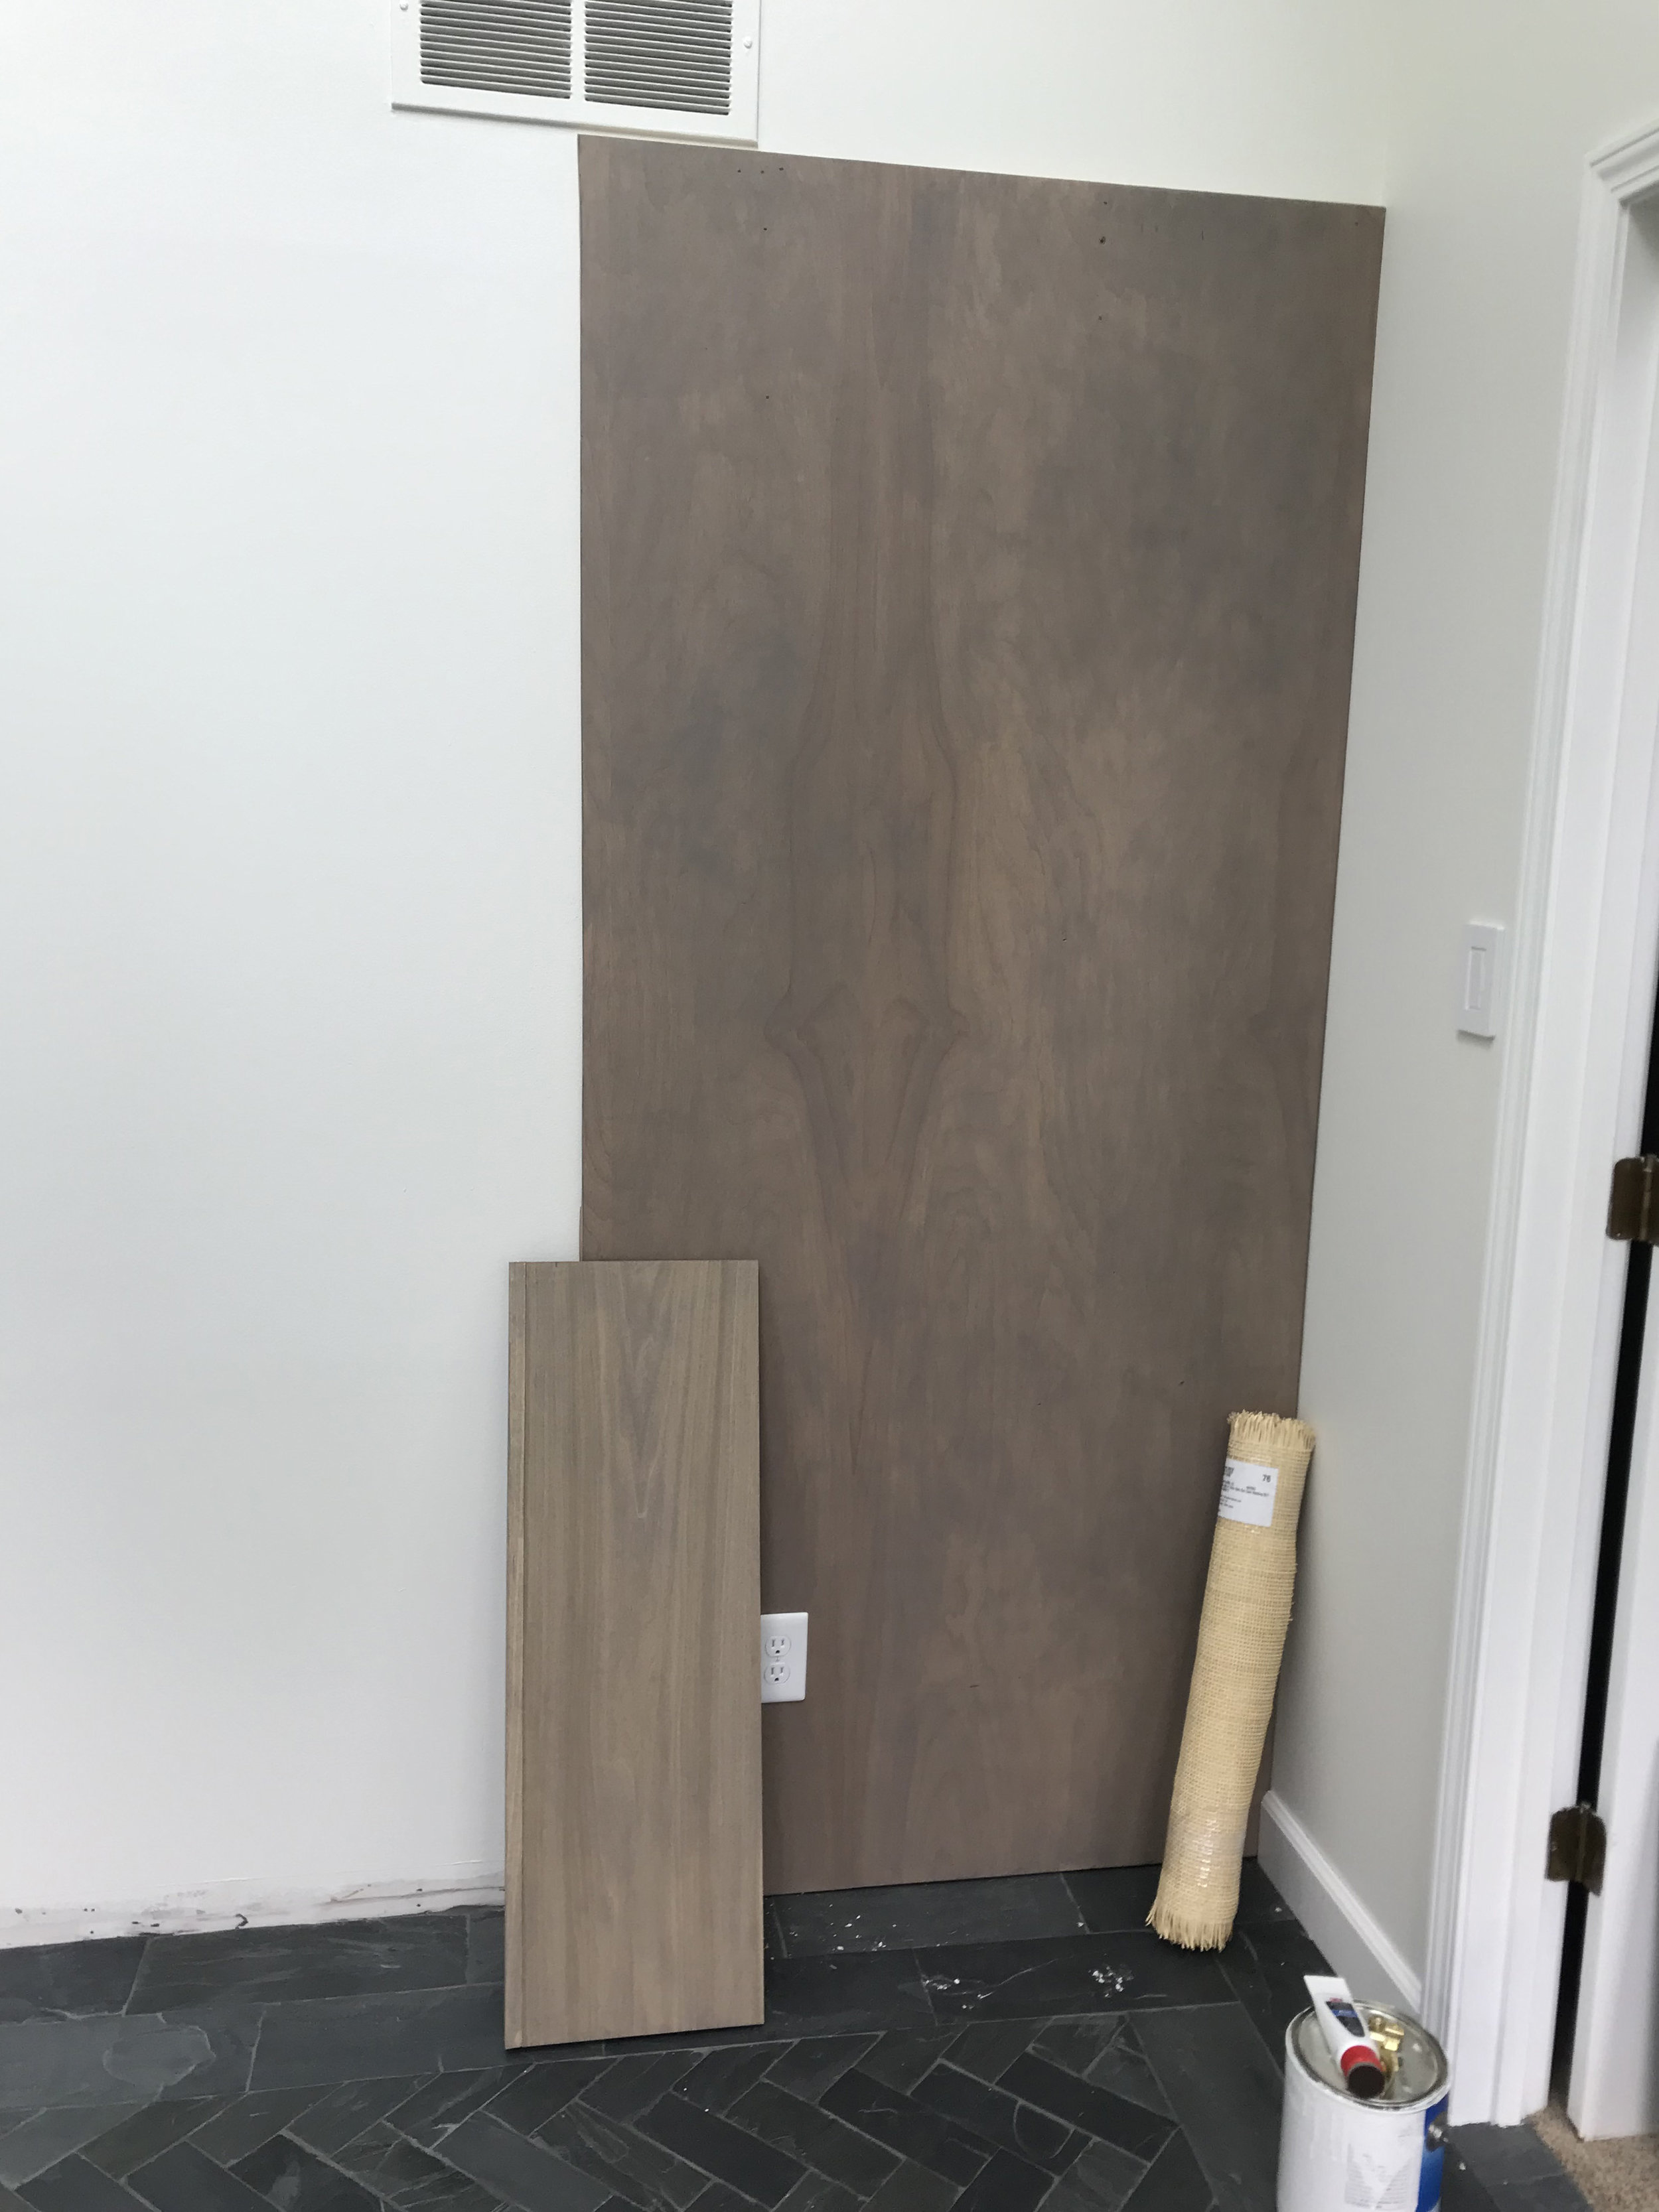
Focusing on the good first, the vanity is finished! My neighbor, Brian, owns a woodworking studio called Brokenstar Woodworking and does incredible work. From the start, we knew that a simple wood vanity was the way to go and really liked the Easton Single Sink Vanity from Pottery Barn but did not like the price tag. Brian said he was up for building a vanity, and we are so thankful because his work is such great quality. We opted for Ash wood with a clear sealant.

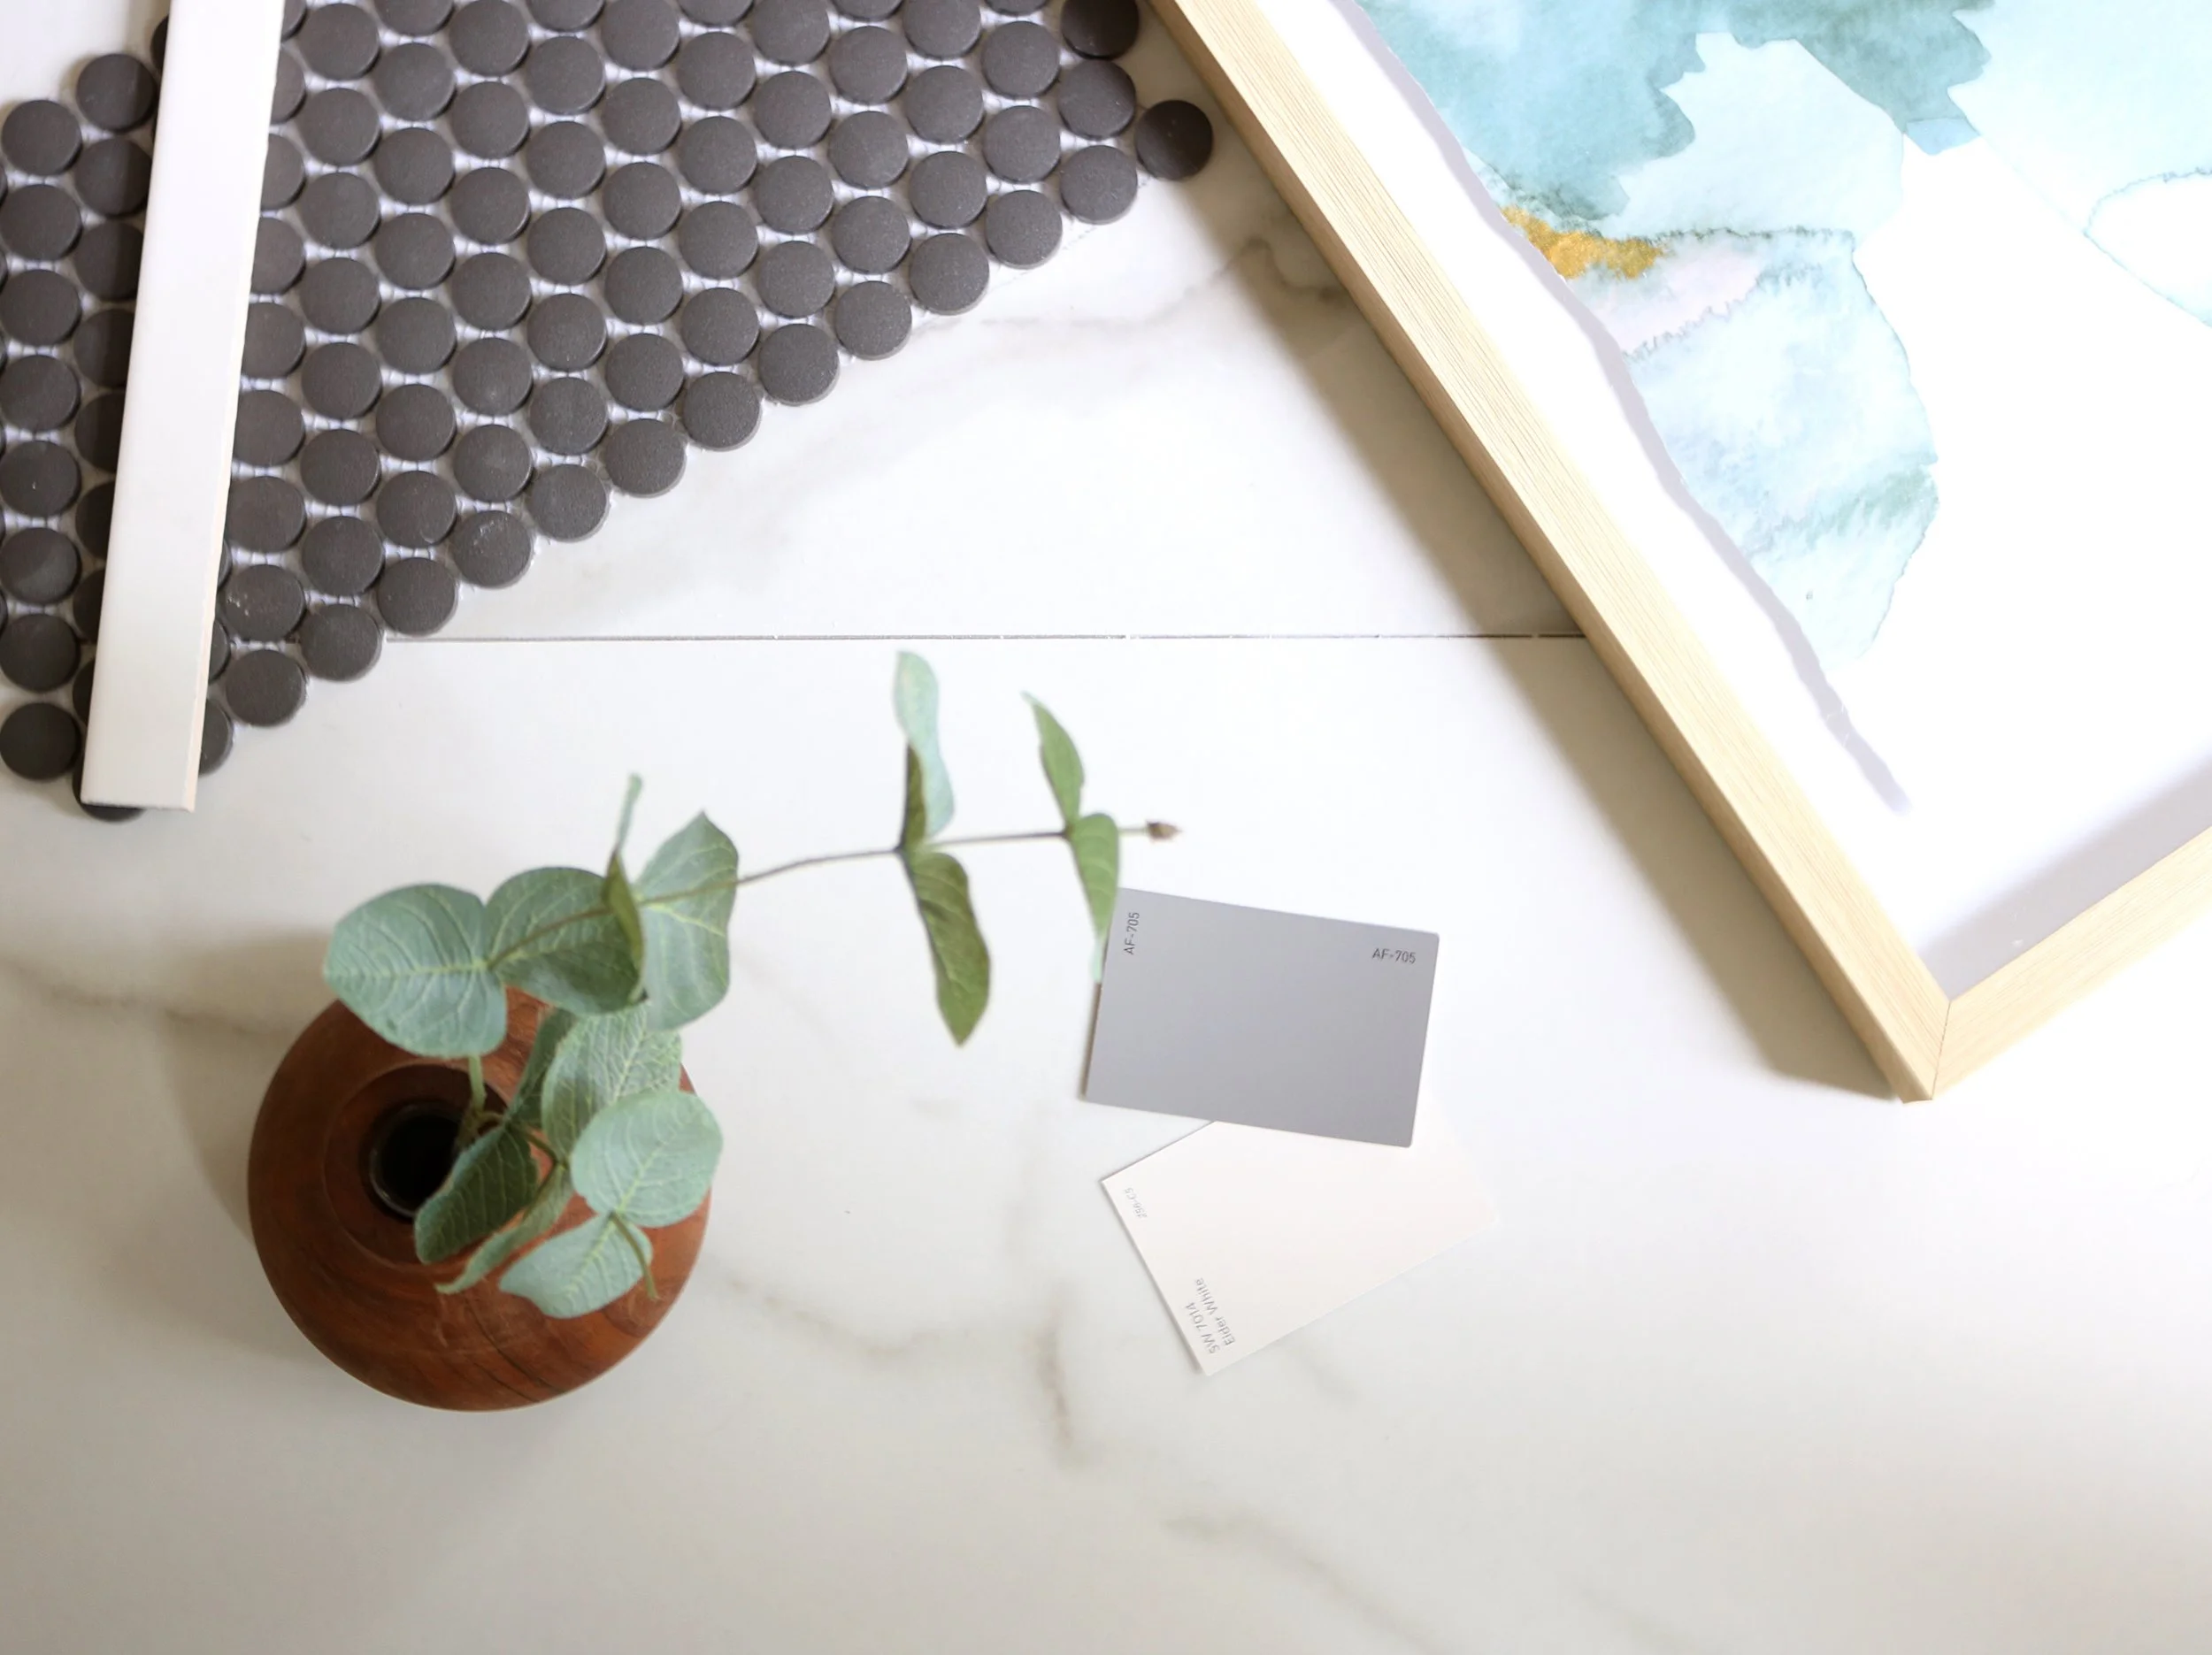
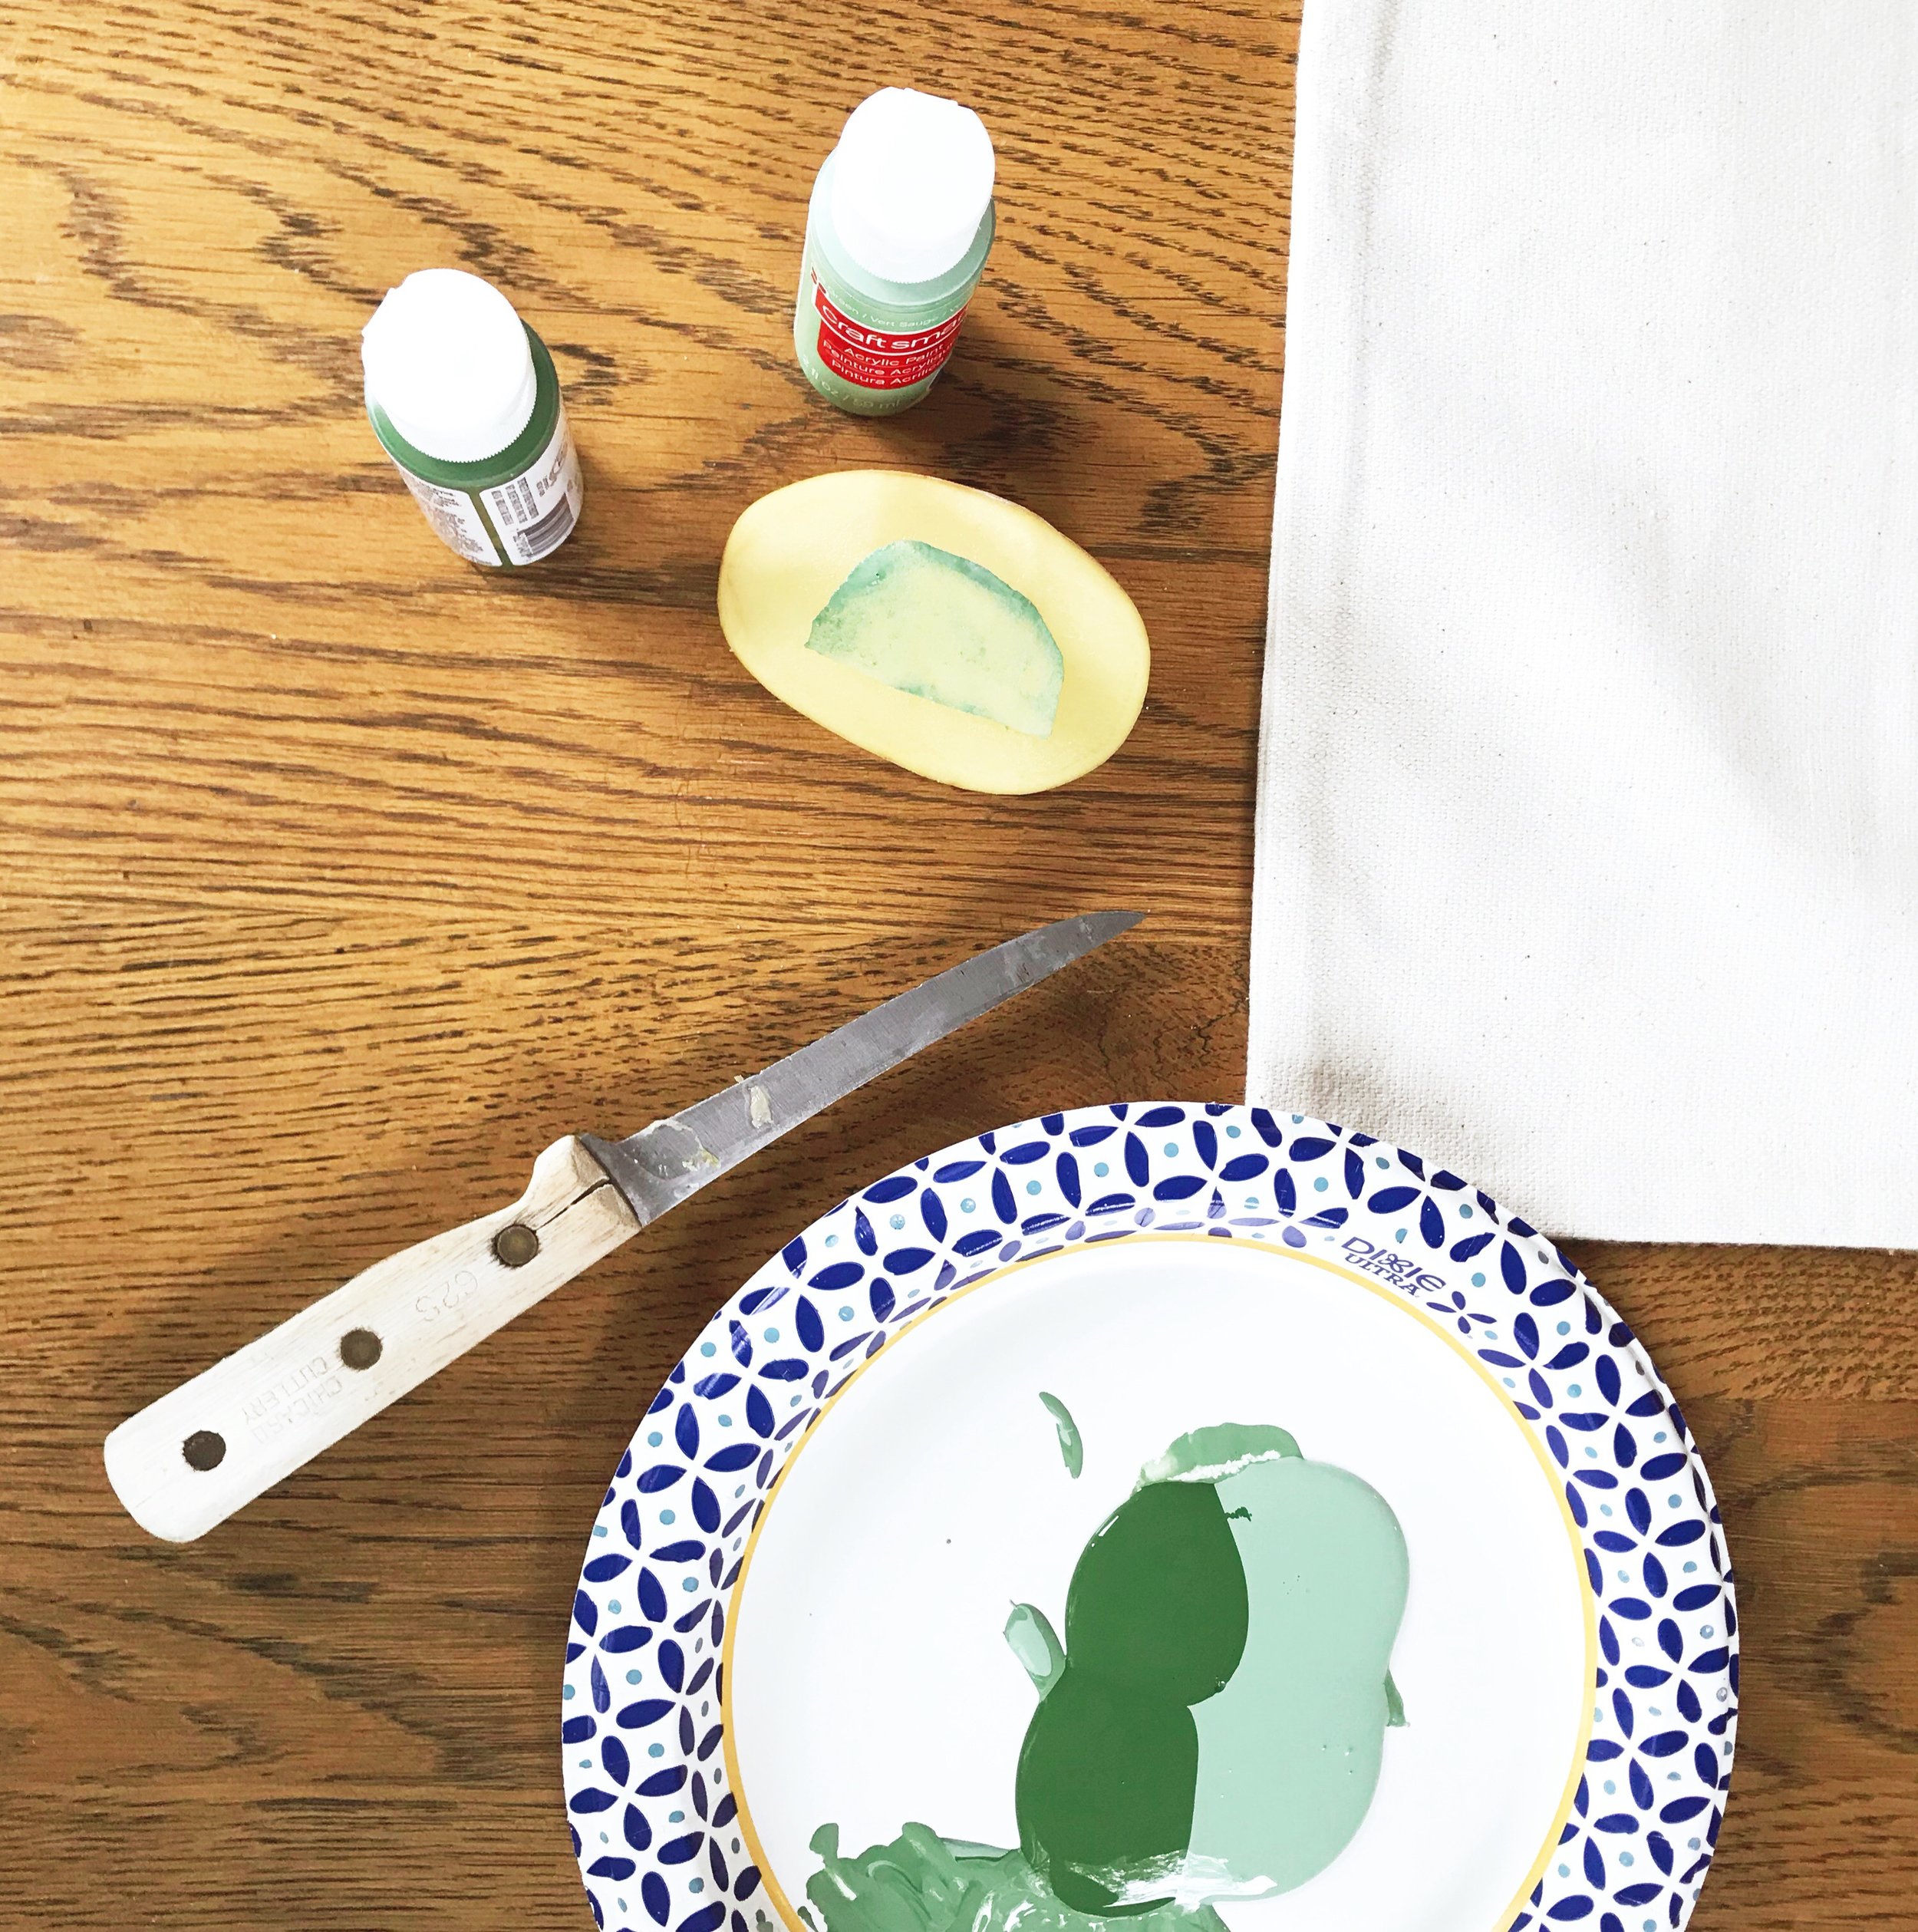
Don’t you like how the wood pops off the dark walls? Next up was deciding what color of countertop would work best: white, lighter gray, or darker gray? White would stand out against the walls and darker gray would blend into the walls—both good options—but after taking in a paint swatch of the wall color, we chose the lighter gray (this one specifically).
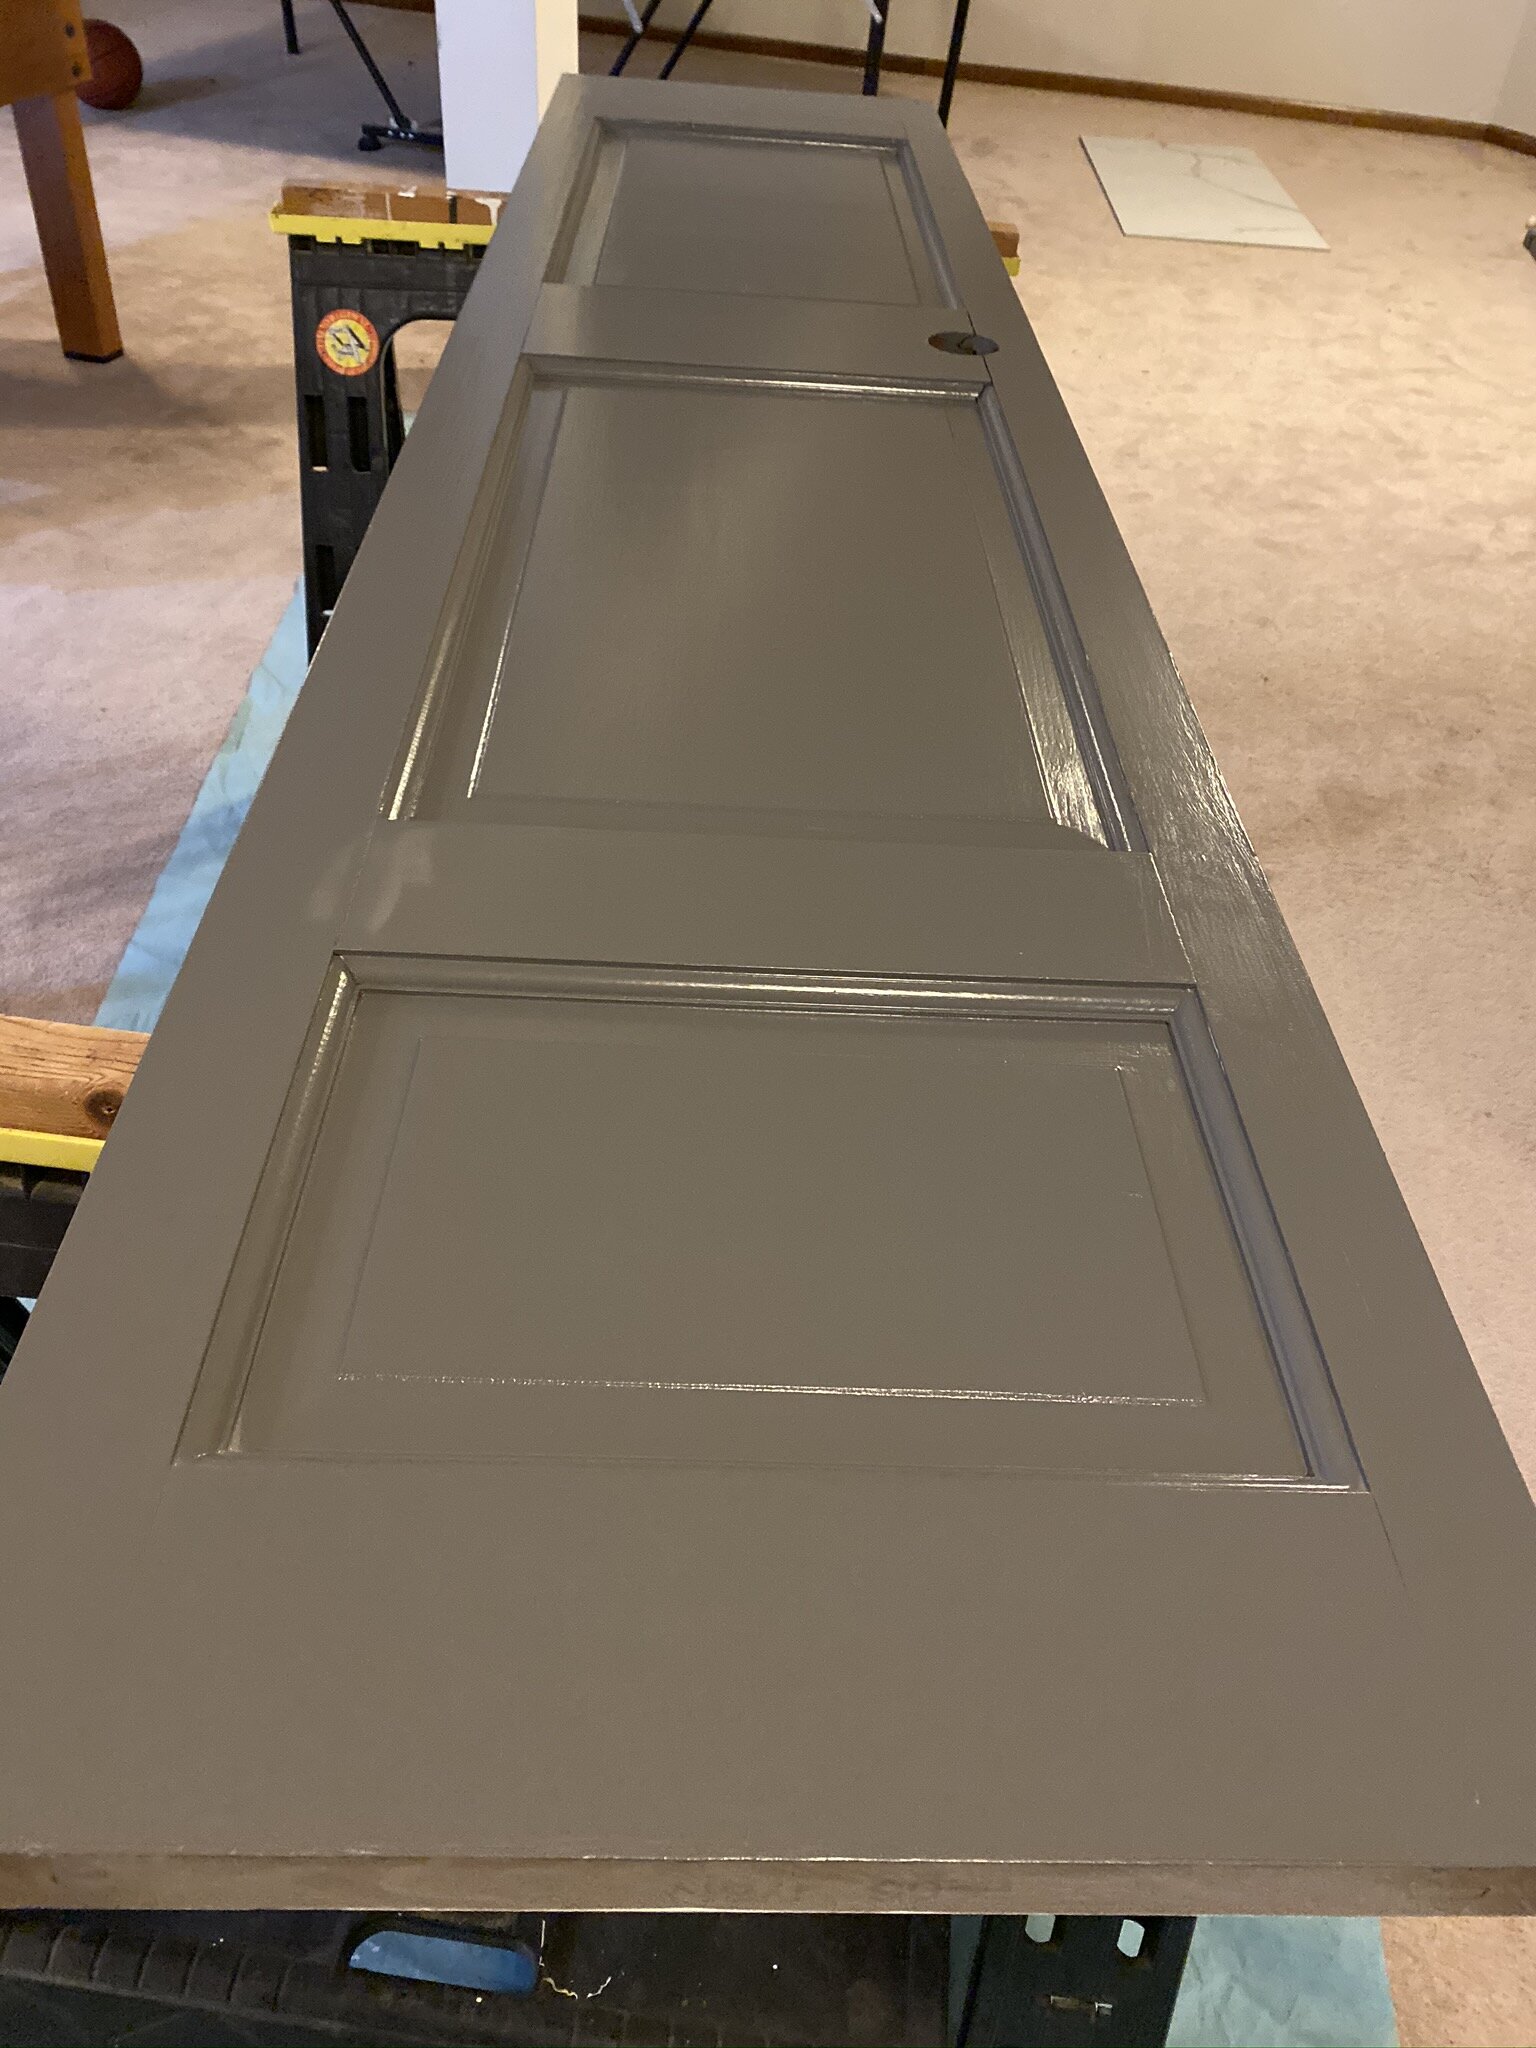
The Trim
The wood trim also was painted this week—one more thing to check off the list! The wood tone of the trim didn’t go with the wood tone of the vanity, so the trim got a couple coats of paint in the same color as the walls (except in semigloss). Now, the trim blends in with the rest of space, and since we didn’t want the trim to be a focal point, it works well.

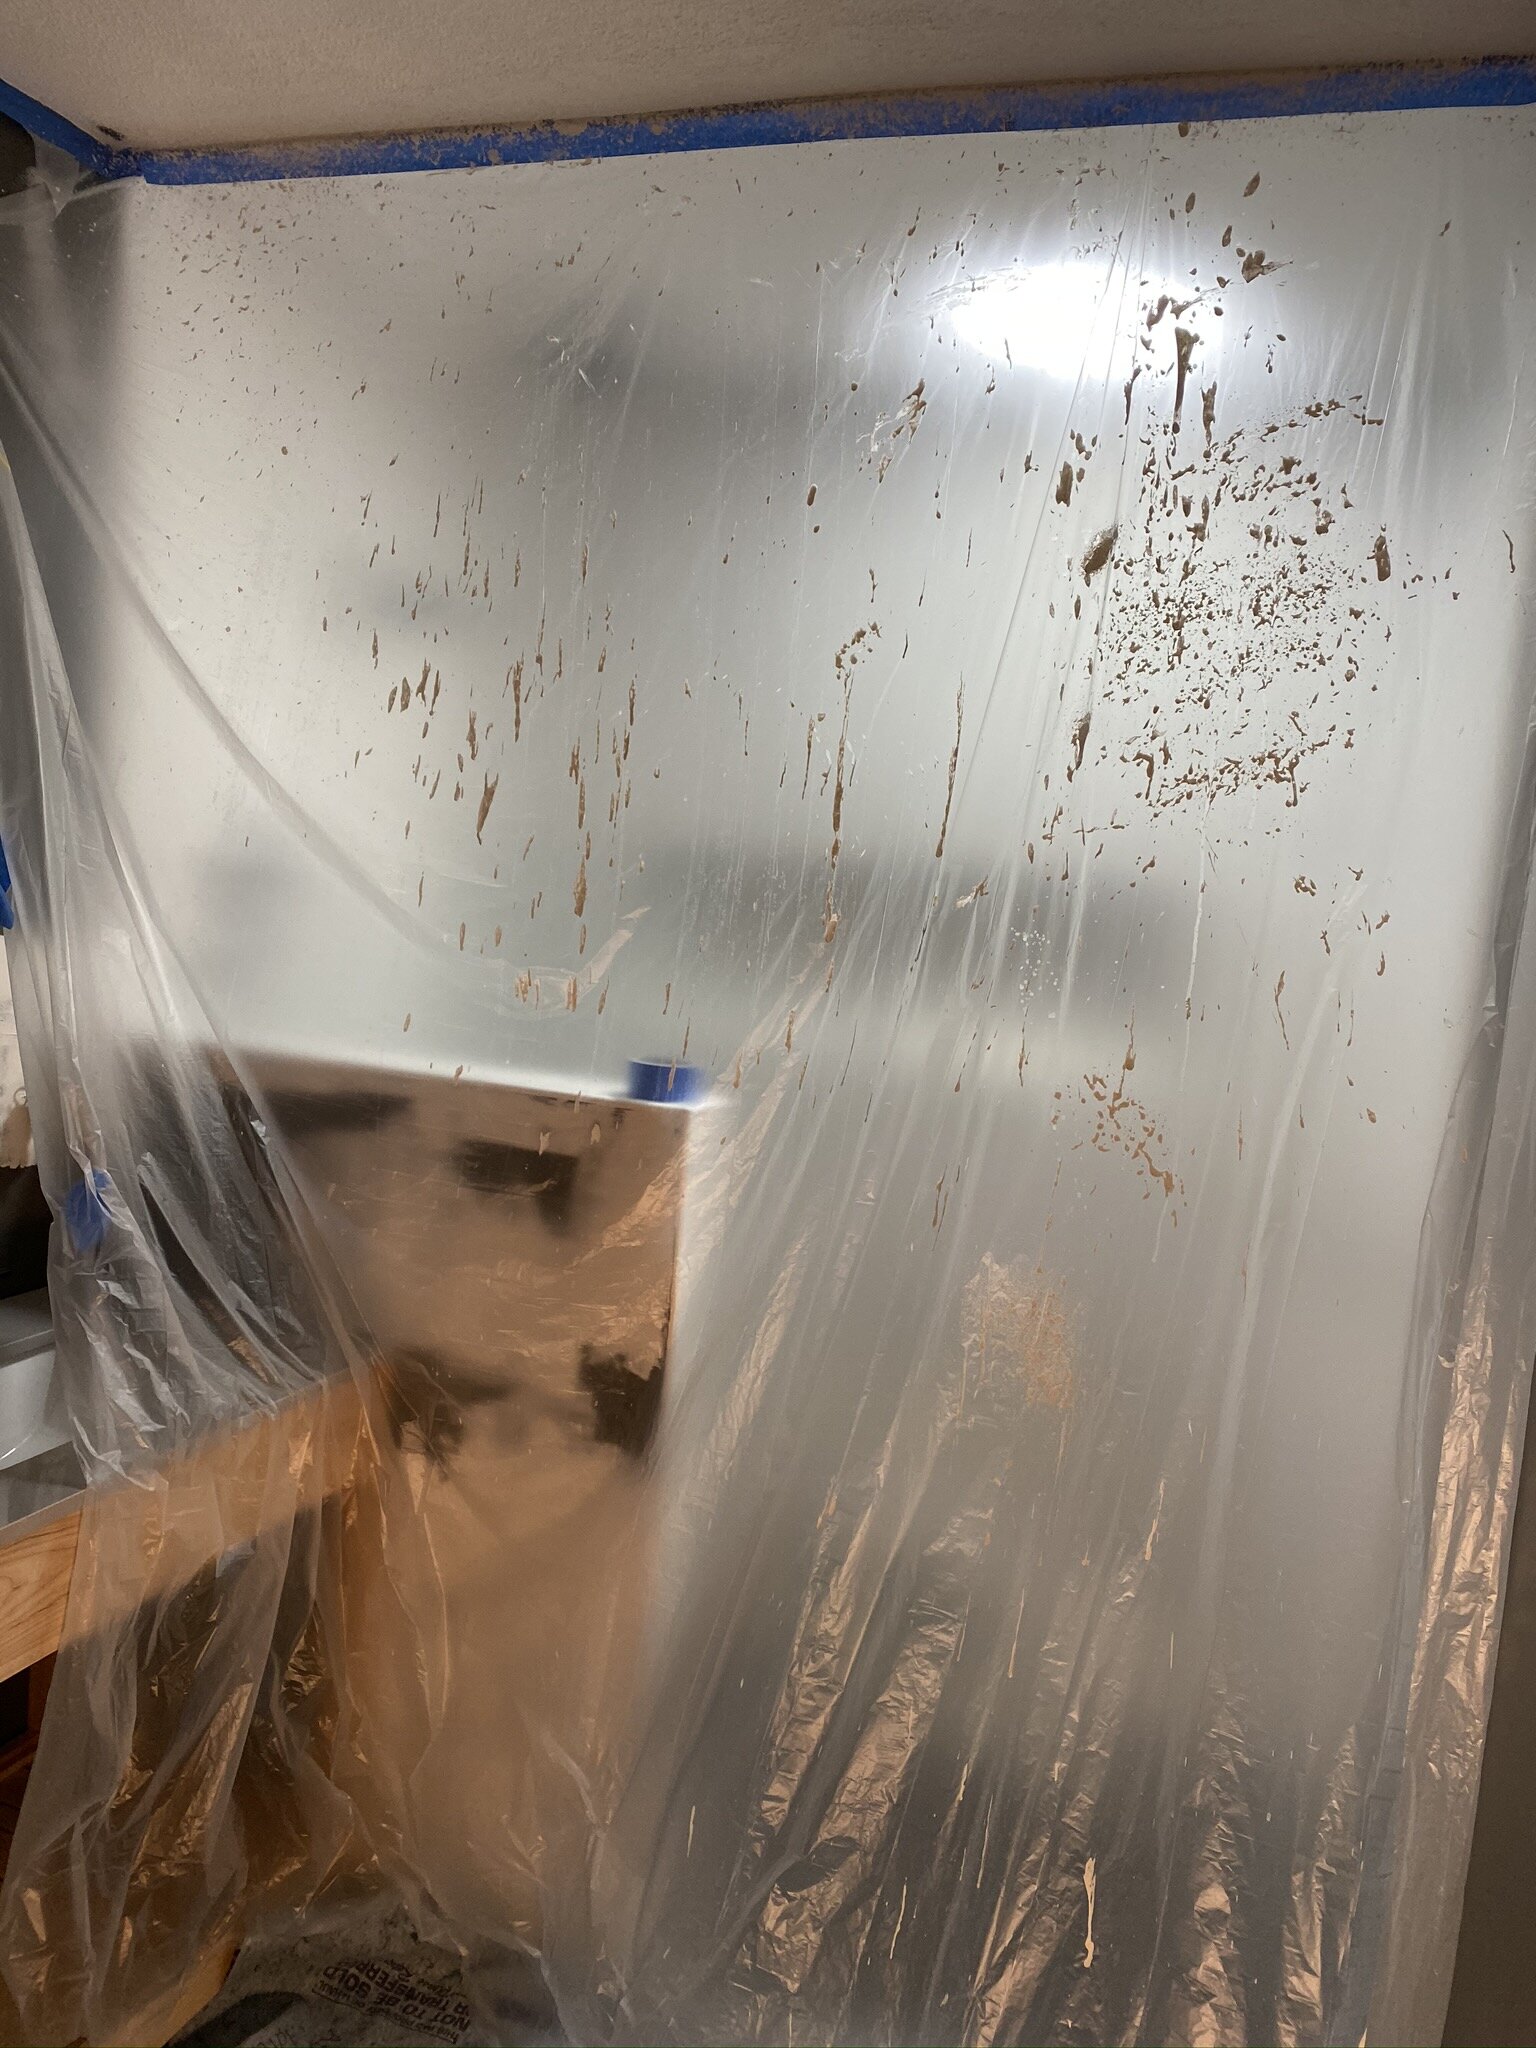
A Few Setbacks
Full disclosure, the bathroom currently looks like we have regressed in our progress. 😂
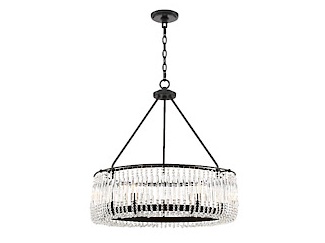
The popcorn ceiling was scraped at the beginning of the project but repairs were required on the knockdown that was applied. That paired with a sick contractor has delayed the installation of the light fixture, the countertop, and the mirror. But what would the ORC be without some minor delays?
Here is our to-do list that we will be updating weekly. Italics mean the task is partially completed.
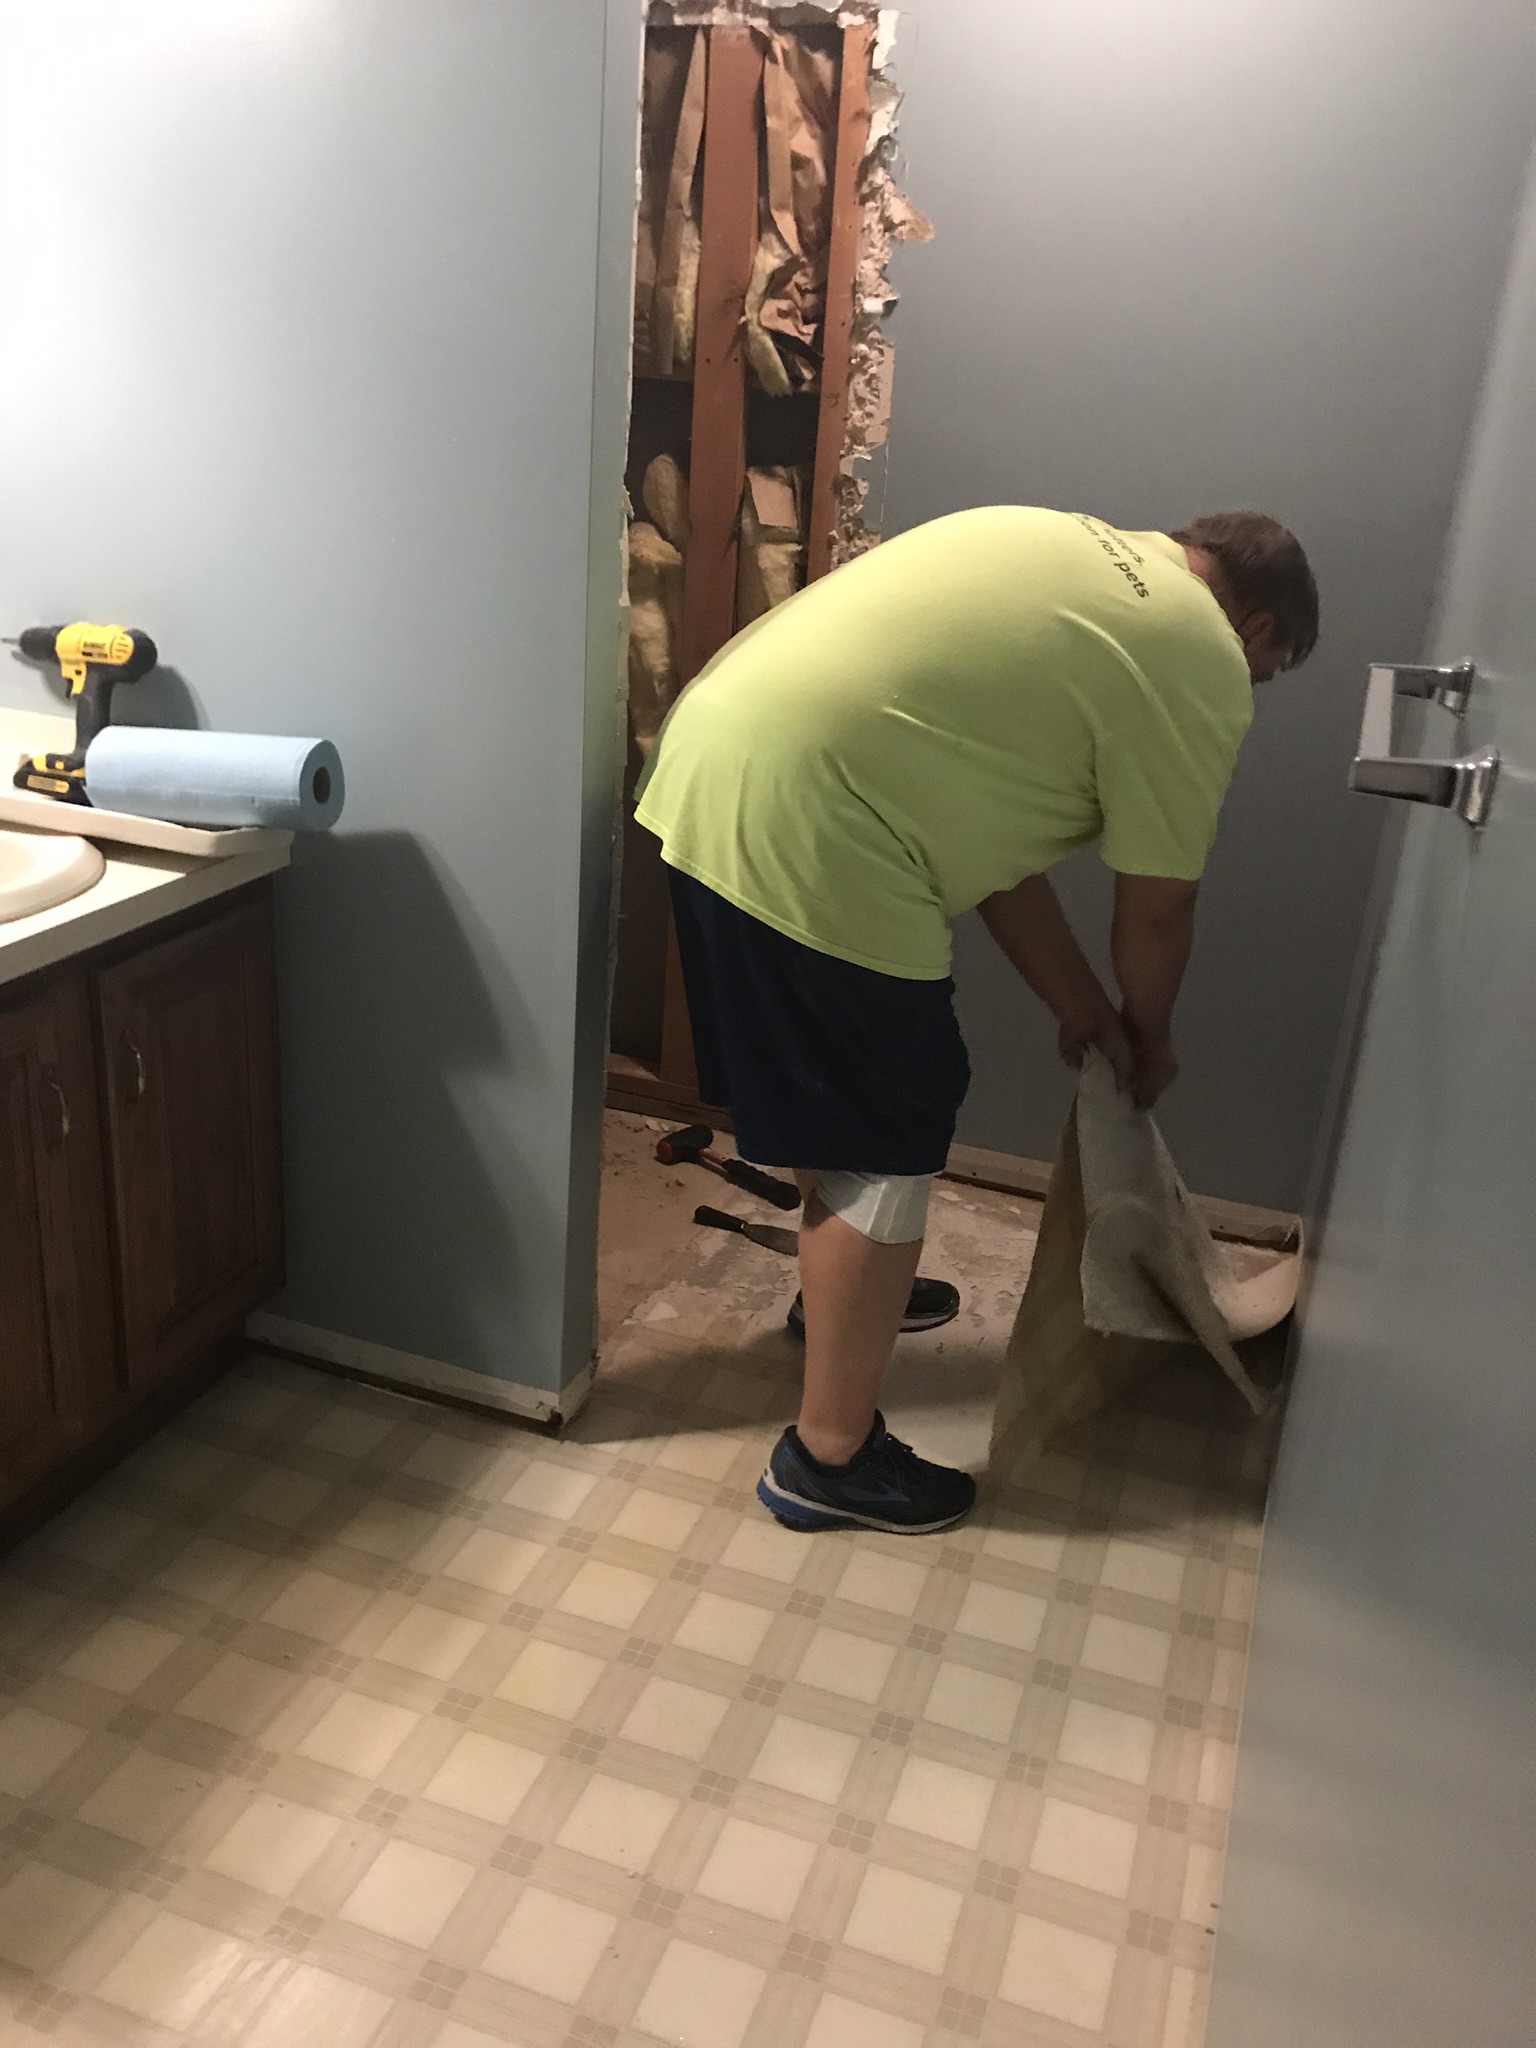
Demo bathroomSource and install tileInstall new vanity or repurpose old one- Source and install light fixture
- DIY ceiling beams
- Install glass for shower
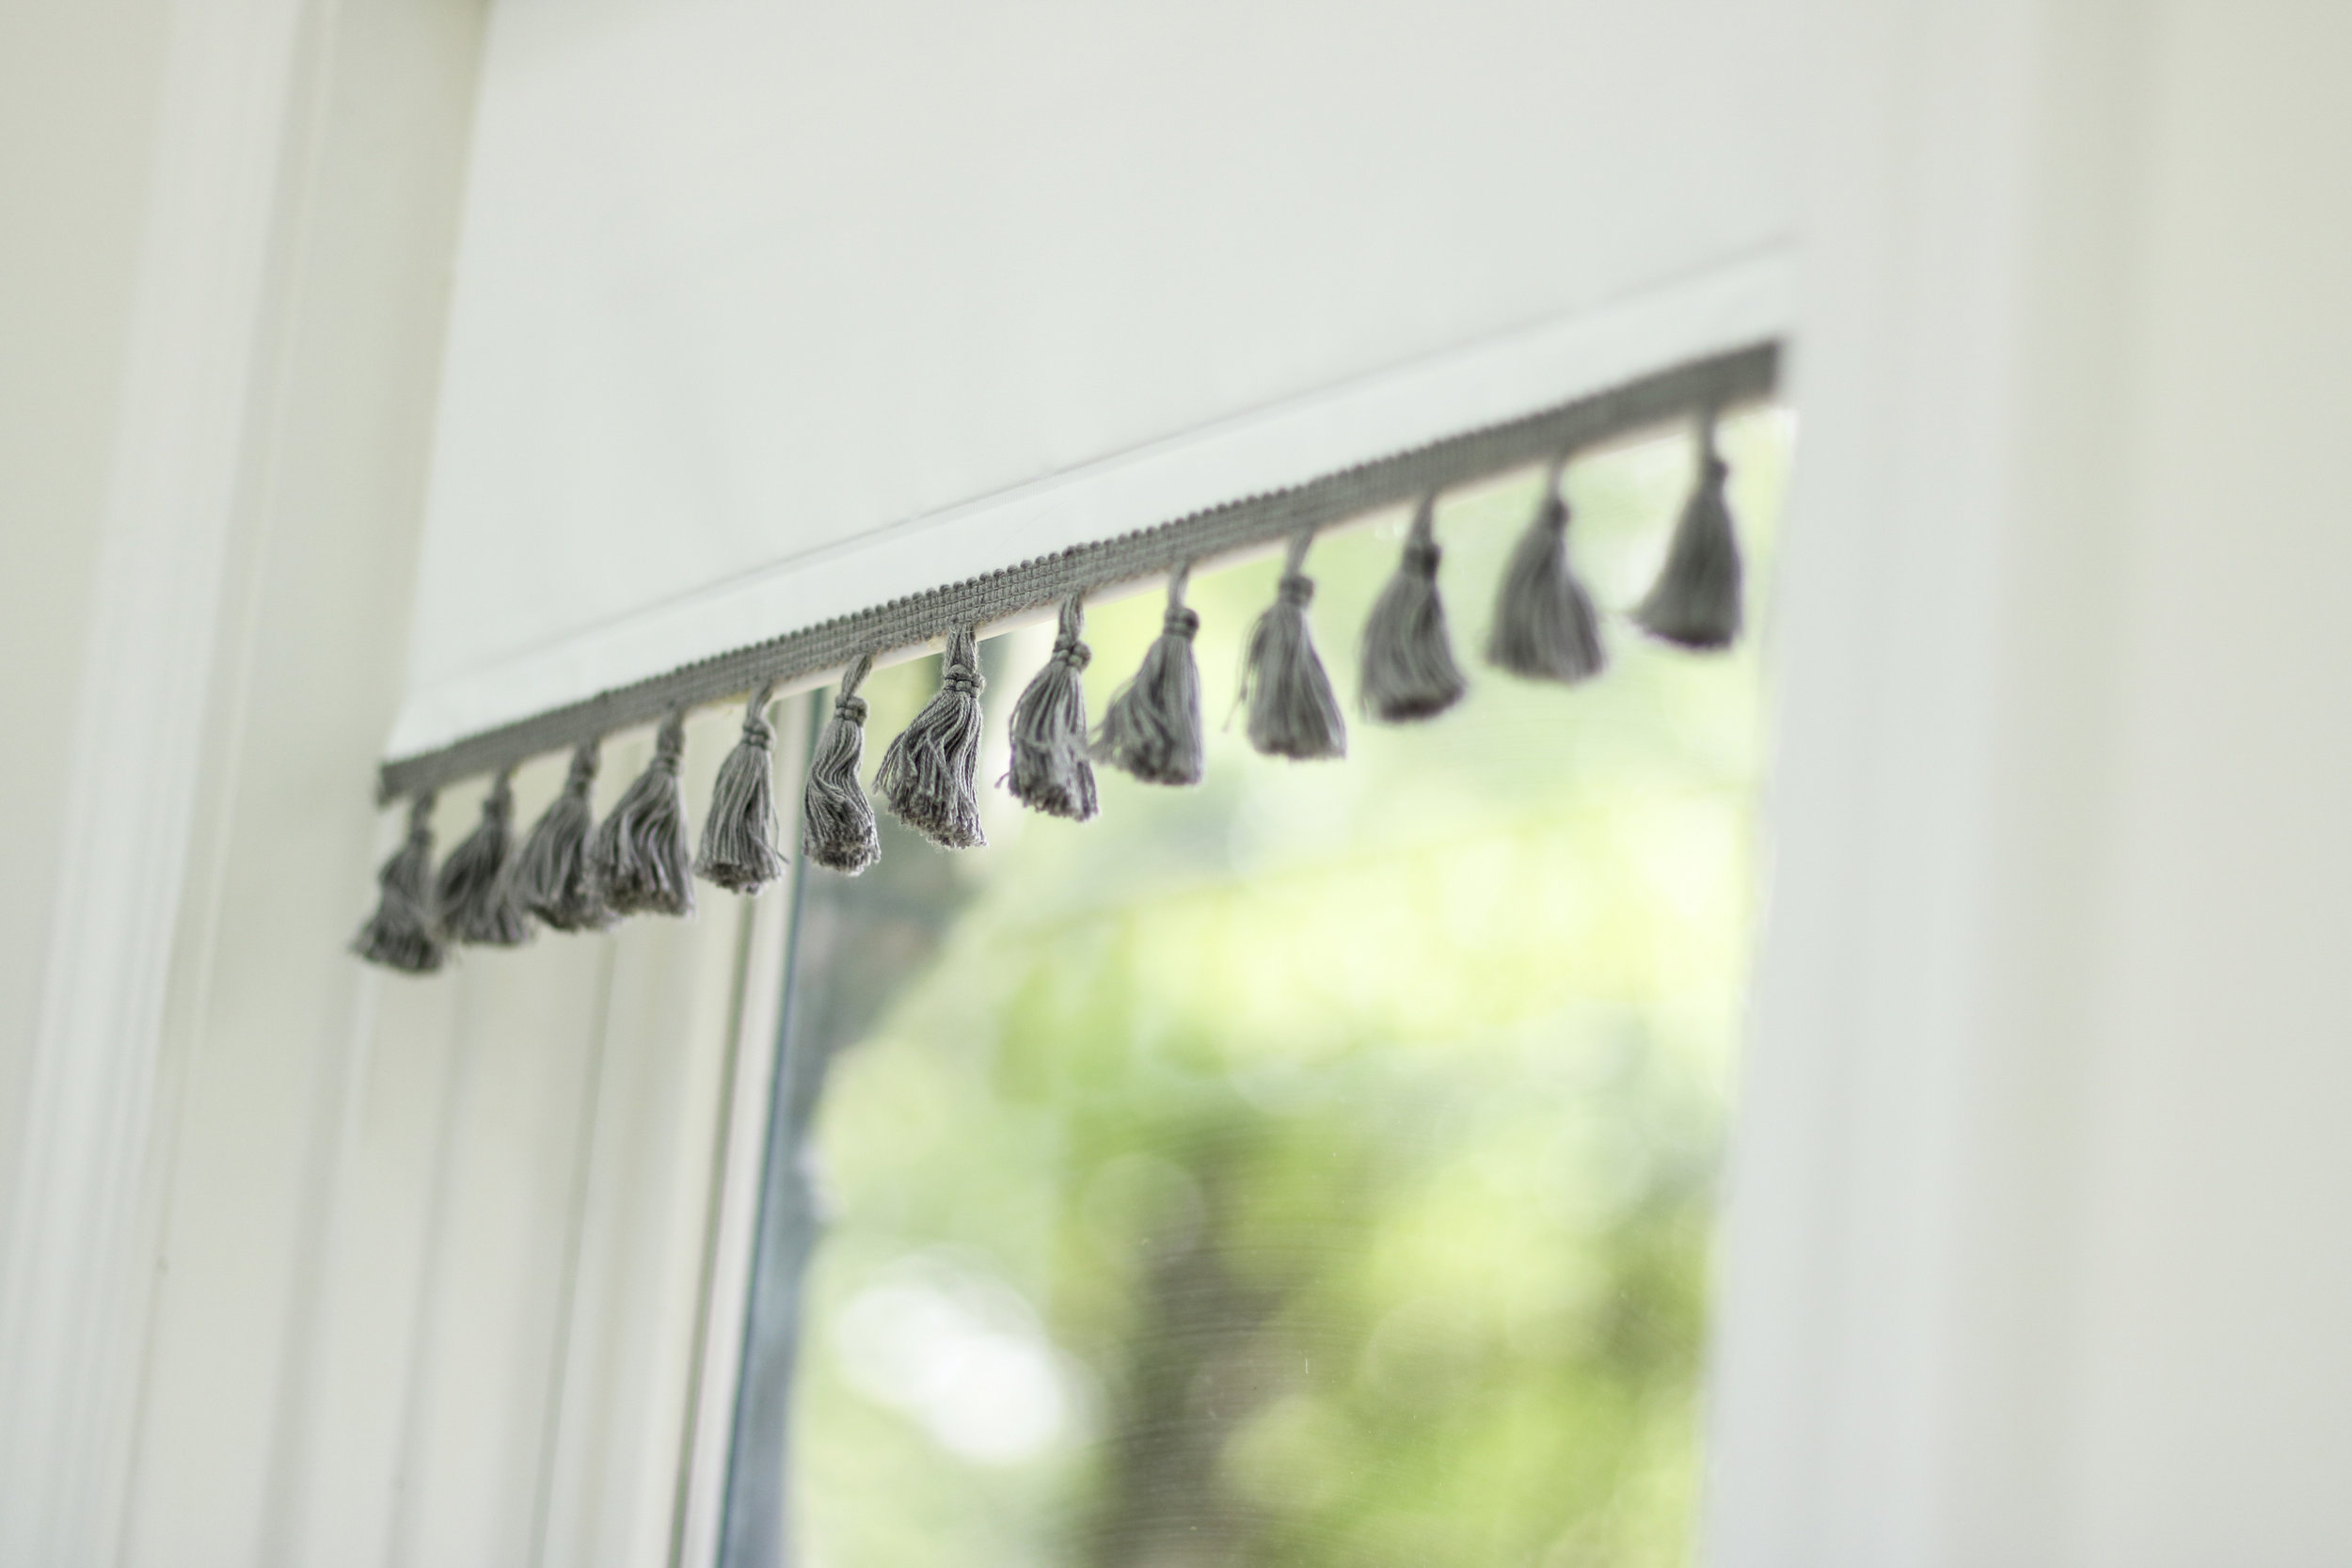
Source mirror- Source rug
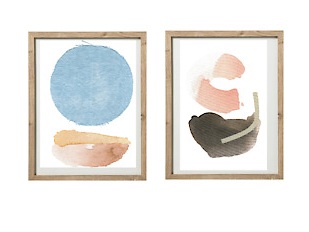
Paint walls and trimSource art
We will still have our big room reveal next week though, and it will be a big improvement over the room’s current condition! (Fingers crossed). Everyone else is nearing that finish line too, so make sure to head over the ORC blog.
See you next week,
Staci and Kylie